



Travel insights from a tour conductor — today’s destination: the Yoshida Trail, the most popular route up Mount Fuji.
Japan’s highest mountain has four main climbing routes, and the Yoshida Trail on the Yamanashi side is the one more than half of all climbers choose. Easy access from Tokyo and the largest number of mountain huts of any route make it the natural first choice — especially for anyone attempting Fuji for the first time. But climbing to the 3,776-metre summit here is more than a physical challenge. The trail follows a path shaped by centuries of Fuji worship, and knowing that history adds a whole other dimension to the climb.
In its original form, the Yoshida Trail begins at Kitaguchi Hongu Fuji Sengen Shrine in Fujiyoshida City — a component of the UNESCO World Heritage listing “Fujisan, sacred place and source of artistic inspiration” — where the historic Yoshidaguchi pilgrim path starts its long climb toward the summit. Today, most climbers ride a car or bus to the Fuji Subaru Line 5th Station instead and join the old trail where the two paths merge at the 6th Station. The original pilgrim route from the shrine still exists, though, and it remains a rewarding option for climbers who want to walk the mountain the way the faithful once did.
Since 2024, the Yoshida Trail has operated under an access-management system designed to protect both climbers and the mountain environment, and the 2026 season carries the same basic framework forward: a trail conservation fee, a daily cap on climber numbers, and a night-time gate closure. Here’s everything you need to plan your climb — the latest rules, the history, the mountain huts, and the practical details that first-timers most often overlook.
| Item | Details |
|---|---|
| Name | Mount Fuji Yoshida Trail (also known as the Kawaguchiko Trail) |
| Location | Fujiyoshida City and Fujikawaguchiko Town, Yamanashi Prefecture |
| Trailhead | Kitaguchi Hongu Fuji Sengen Shrine (Yoshidaguchi path) / Fuji Subaru Line 5th Station |
| Climbing season | July 1 to September 10 (planned; subject to weather and snow conditions) |
| Gate closure | 2:00 PM to 3:00 AM (no summit-bound access; hut guests with reservations exempt) |
| Daily climber cap | 4,000 climbers per day (hut guests not included in the cap) |
| Advance registration opens | April 27, 2026 |
| Access to the 5th Station | Climbing buses from Kawaguchiko Station or Fujisan Station (Fujikyu Railway) |
What to know before you plan your climb
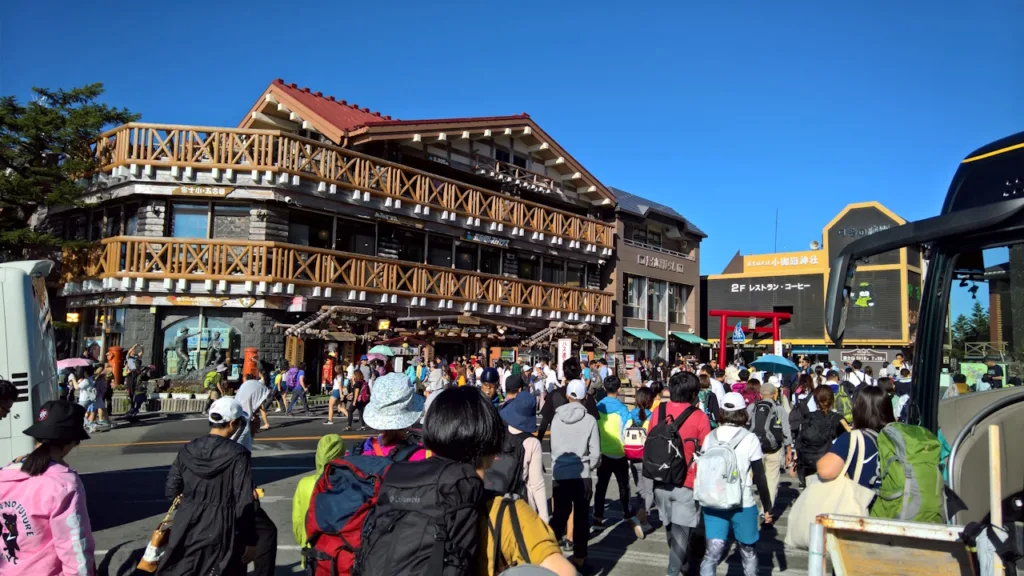
The Yoshida Trail’s popularity is exactly why planning ahead matters. Around the Mountain Day holiday in August and on Obon-week weekends, daily climber numbers regularly approach the cap — and once the cap is reached, no more climbers are admitted that day. If your dates aren’t flexible, a weekday climb or an early-morning start from the 5th Station gives you the best odds.
The gate closes from 2:00 PM until 3:00 AM the next morning, and during those hours only climbers with hut reservations can continue toward the summit. This rule exists to discourage so-called bullet climbing — pushing straight through the night without rest. Skipping the overnight stop means your body never gets time to adjust to the altitude, which sharply raises the risk of altitude sickness and hypothermia. Temperatures near the summit can drop to around freezing even at the height of summer, so a schedule with at least one night in a mountain hut is the recommended approach.
The trail conservation fee applies to all of Fuji’s climbing routes. You can pay through the advance registration system using a credit card or PayPay, or in cash at the 5th Station counter on the day — but note that the on-site counter accepts cash only.
Fuji’s weather deserves respect, too. Even when skies are clear at the base, strong wind or fog can wrap the summit with little warning, and a sudden change in conditions can upend an entire climbing plan. Check the forecast before you set out, keep checking during the climb, and be ready to adjust — that mindset is a core part of climbing this mountain safely.
The pilgrim history carved into the Yoshida Trail
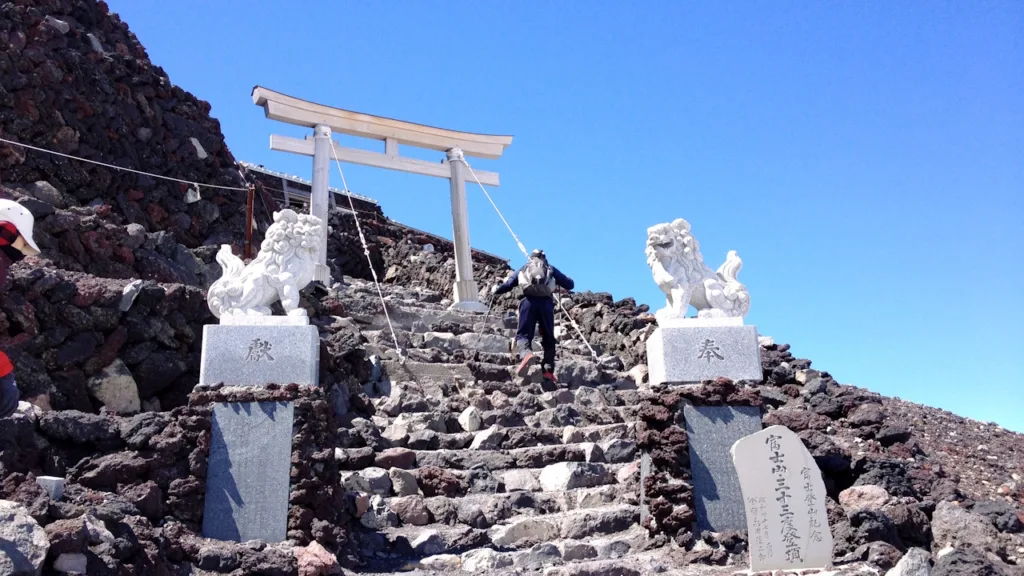
Kitaguchi Hongu Fuji Sengen Shrine, the trail’s spiritual starting point, is said to be more than 1,900 years old. According to shrine tradition, the legendary prince Yamato Takeru stopped here after a campaign to the east, gazed up at Mount Fuji, and ordered a small shrine built in the mountain’s honour. In 788, Ki no Toyoniwa, then governor of Kai Province, constructed shrine buildings on the current grounds and enshrined Konohanasakuya-hime, the deity of Mount Fuji — laying the foundation for the shrine as it stands today.
The shrine’s golden age came in the mid-Edo period, when a devotional movement known as Fujiko exploded in popularity. Centred on Edo (present-day Tokyo), Fujiko confraternities — groups organised around the goal of climbing and worshipping Mount Fuji — spread across the Kanto and Chubu regions and as far as Tohoku and Kinki. Kakugyo Hasegawa, revered as the movement’s founder, is said to have performed severe ascetic training on the mountain in the dead of winter, and a standing stone associated with his austerities remains in the shrine grounds.
For an ordinary pilgrim of the era, the journey was enormous: three days on foot from Edo to Yoshida even at a brisk pace, then two more days to summit and return — an eight-day undertaking in all. Because few commoners could afford such a trip alone, confraternities pooled contributions and sent chosen representatives on the group’s behalf. The neighbourhood around the shrine grew to serve them, and at its peak, nearly a hundred oshi pilgrim lodges are said to have lined the approach.
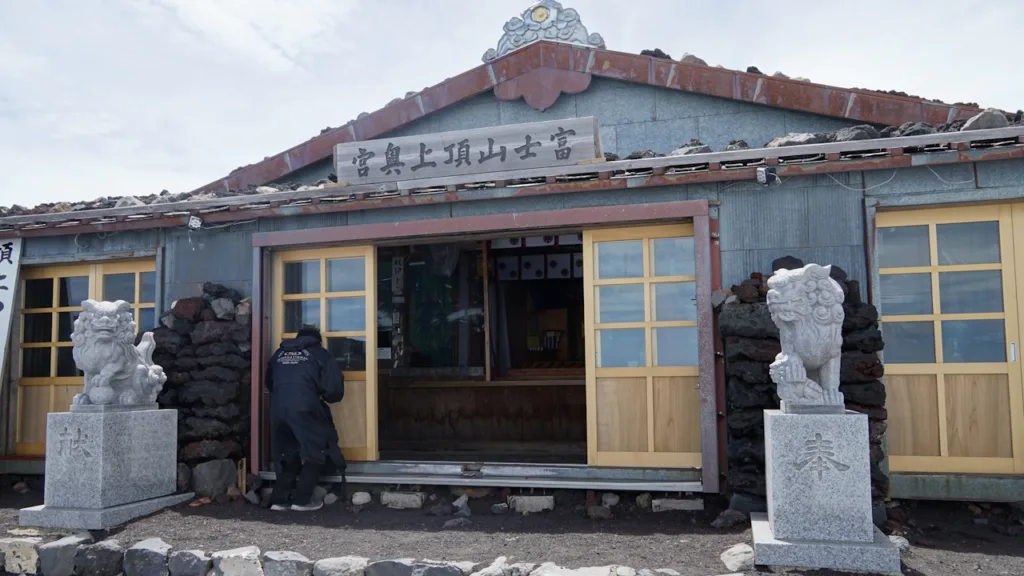
Much of the shrine’s present grandeur dates to a massive six-year reconstruction between 1733 and 1738, led by Kosei Murakami and his Murakami confraternity, one of the Fujiko branches. The worship hall, offering hall, and kagura stage from that project were designated Important Cultural Properties of Japan in 2017, and Fuji Taro Sugi, a sacred cedar roughly 1,000 years old, still towers over the grounds.
Every year on July 1, the shrine hosts Oyamabiraki, the ceremony that opens the summer climbing season. Then on August 26 and 27 comes the Yoshida Fire Festival, counted among Japan’s three most unusual festivals: dozens of great torches roughly three metres tall are set ablaze at night, turning the main street red with flame — a scene that captures just how deeply this town’s identity is bound to the mountain.
How the Yoshida Trail compares with the other four routes
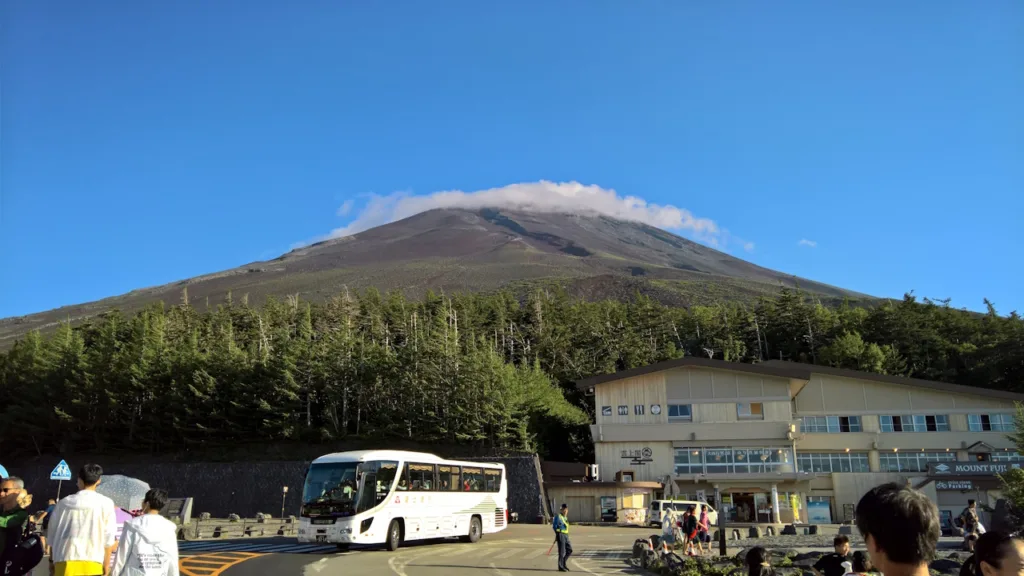
Beyond Yoshida, Fuji has three more main routes — Fujinomiya, Subashiri, and Gotemba, all on the Shizuoka side — plus the more recently established Prince Route, and they differ significantly in starting elevation, distance, and character. Seeing them side by side makes it clear why roughly 60% of all climbers choose Yoshida.
| Trail | 5th Station elevation | Round trip | Ascent (approx.) | Descent (approx.) | Mountain huts |
|---|---|---|---|---|---|
| Yoshida Route | 2,305 m | ~13.8 km | ~6 hours | ~4 hours | Many on the ascent trail (none on the descent trail) |
| Fujinomiya Route | 2,380 m | ~8.6 km | ~5 hours | ~3 hours | On both ascent and descent |
| Subashiri Route | 1,970 m | ~13.1 km | ~6 hours | ~3 hours | On both ascent and descent |
| Gotemba Route | 1,440 m | ~18.9 km | ~7 hours | ~3 hours | Few |
| Prince Route | 2,400 m (Fujinomiya 5th Station) | ~16.4 km | ~6–7 hours | ~3 hours | Few (long stretches without huts) |
Note: Prince Route distance and times assume descending via the Gotemba Trail’s great sand run.
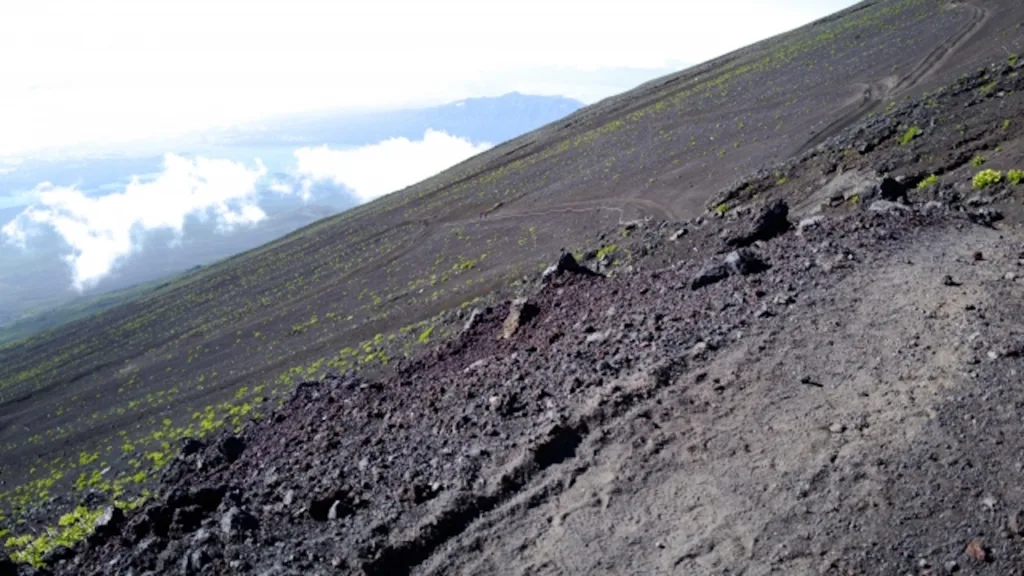
The Yoshida Trail’s defining features are its abundance of huts and its fully separated ascent and descent paths. If you run into trouble anywhere on the way up, shelter and rest are never far away, and the one-way traffic flow keeps descent-time congestion to a minimum. First-aid stations also operate at the 7th and 8th Stations during the season, giving first-time climbers more safety options than any other route.
By contrast, the Fujinomiya Trail starts highest of the four main routes and is the shortest — but its single shared path for ascent and descent causes bottlenecks, and gaining altitude that quickly carries a somewhat higher risk of altitude sickness. The Subashiri Trail climbs through forest from its 5th Station and rewards descending climbers with the famous “sand run” down volcanic gravel slopes, though it merges with the Yoshida Trail above the upper 8th Station, where crowding is common. The Gotemba Trail has the greatest elevation gain and the longest distance of the four main routes — one for experienced climbers.
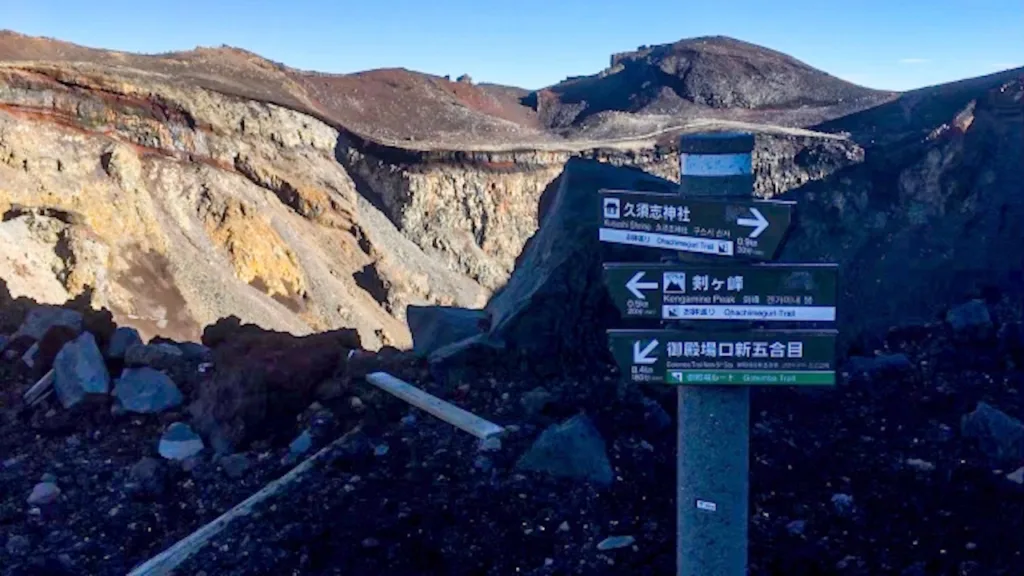
Then there’s the fifth option, which has been gaining attention in recent years: the Prince Route. It takes its name from a 2008 climb by the then Crown Prince — now the Emperor of Japan — and is a hybrid route linking the Fujinomiya and Gotemba trails. Starting from the Fujinomiya 5th Station, it crosses the massive Hoei crater partway up, joins the Gotemba Trail at its 6th Station, and continues to the summit from there. The appeal is a best-of-both combination: the high starting elevation of the Fujinomiya side paired with the quiet, uncrowded character of the Gotemba Trail, along with dramatic close-up views of Mount Hoei, Fuji’s largest flank volcano. The trade-offs are long stretches without huts and a number of junctions where losing the trail is a real possibility — which makes it better suited to climbers who already have a Fuji ascent or solid mountain experience behind them.
Stack it all up — hut density, separated paths, medical support — and the Yoshida Trail is clearly the easiest route to plan around, especially for anyone unsure of their fitness or climbing Fuji for the first time.
Sunrise from the summit and the crater walk
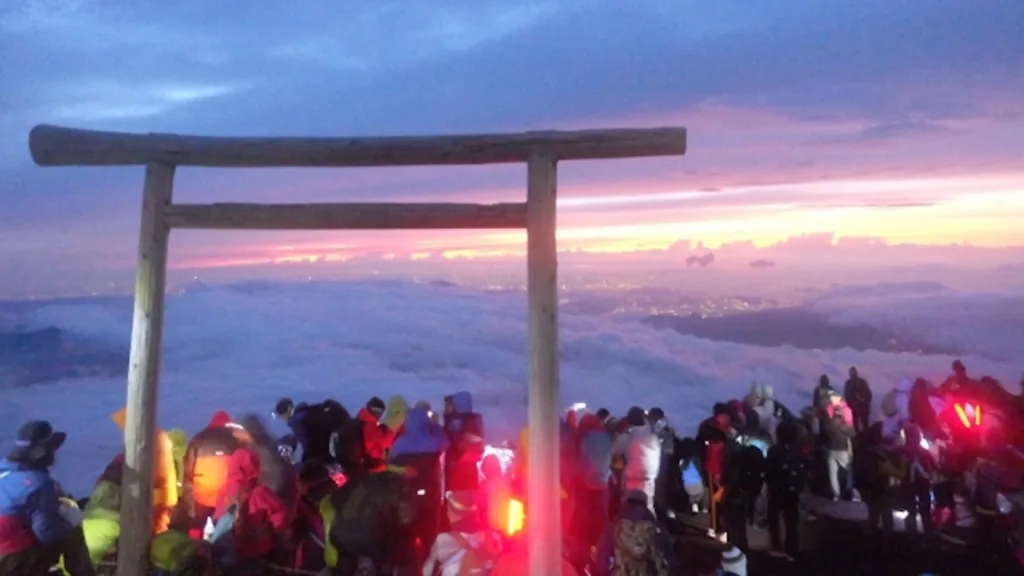
For most climbers on the Yoshida Trail, the real goal is goraiko: resting at a hut, then pushing for the summit before dawn to watch the sunrise. The moment the sun breaks over the sea of clouds makes every hour of climbing worthwhile, and watching the sky shift colour minute by minute is a reward reserved for those who stayed the night on the mountain.
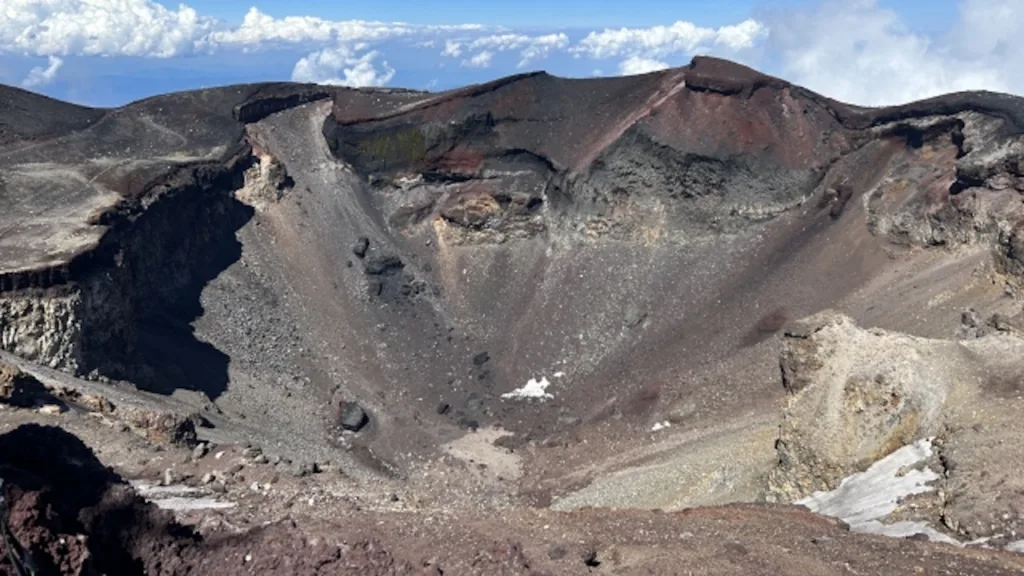
Once you’ve reached the top, consider the Ohachi-meguri crater walk — a full loop around the summit crater. It passes Kengamine, Fuji’s true 3,776-metre high point, and delivers a sweeping panorama from the peaks that ring the crater. The loop takes around 90 minutes; if your legs and your schedule have room for it, it turns a summit visit into something more complete.
Choosing and booking a mountain hut
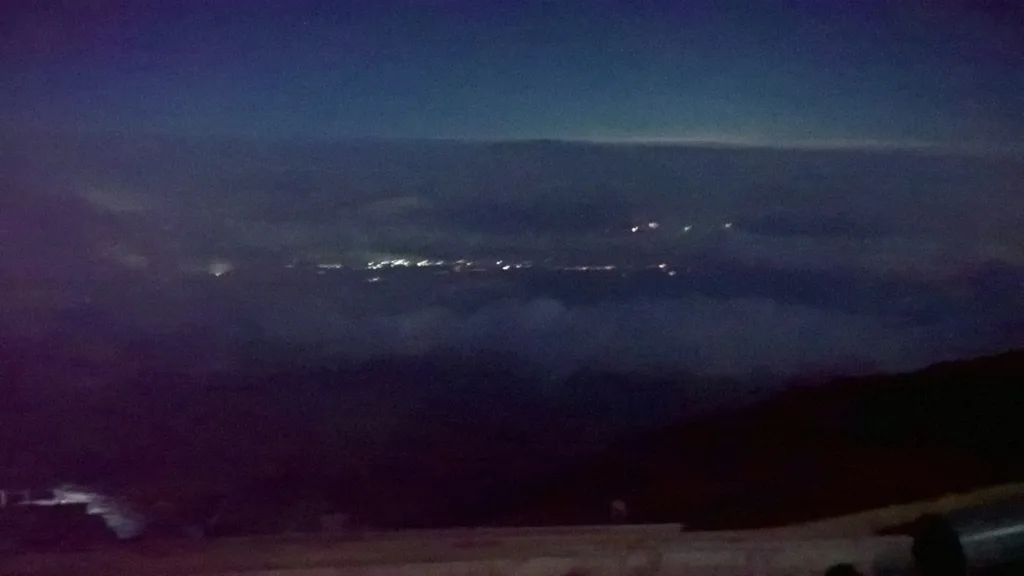
Hut reservations on the Yoshida Trail typically open between mid-April and May, and the popular huts fill up shortly after booking begins. Most offer both room-only and two-meal plans, so you can match your booking to your arrival time and planned departure the next morning.
Elevation isn’t the only factor in choosing a hut — think about where you want to be at sunrise. A hut close to the summit makes a summit sunrise easier to catch but means a longer first-day climb from the 5th Station. A mid-mountain hut spreads the effort more evenly, and watching the sunrise from the trail partway up is a beautiful experience in its own right. Bookings are generally made through each hut’s own website, and in peak season, earlier is always safer.
One thing to understand before you book: a mountain hut is nothing like a hotel or ryokan. The standard arrangement is a large shared room, closer to communal sleeping than private lodging — rows of futons or sleeping bags in an open space, with climbers resting shoulder to shoulder. There are no showers or baths, and no amenities like toothbrushes or towels; if you want body wipes or tooth-cleaning sheets, bring your own.
Drinking water is another surprise for first-timers: huts have no running tap water for refills. At this altitude, water is a precious resource, so bottled water from the hut shop is the standard way to restock. Charging your phone is also generally not possible — most huts have no charging facilities, and even those with outlets have limited numbers or charge a fee — so pack a fully charged power bank or two.
Toilets, on the other hand, come with a small perk for overnight guests: at most huts, guests use them at no extra charge. Unlike the donation system that applies to passing climbers, the cost is effectively built into your stay.
Every mountain hut on the Yoshida Trail
The Yoshida Trail has the best hut infrastructure of any route on the mountain — roughly 20 huts dotted between the 5th Station and the summit. Here’s a station-by-station guide to each one, so you can match a hut to your own plan and pace.
5th to 6th Station
Sato-goya
At the Yoshidaguchi 5th Station (around 2,220 m), Sato-goya is the only hut on Mount Fuji that operates year-round. It serves as the base for anyone walking the historic trail from the foot of the mountain, and its dining room is open to non-guests as well — a rare and valuable presence for climbers on Fuji outside the summer season.
Satomidaira Seikanso
Also at the Yoshidaguchi 5th Station, this distinctive lodge is equipped with astronomical telescopes. The crisp air at roughly 2,300 metres makes for superb stargazing, and some guests come as much for the night sky as for the climb. A good match for anyone after a quiet, unhurried stay.
Fujisan Miharashi
One of the largest lodgings at the Fuji Subaru Line 5th Station, with a well-stocked shop that’s handy for topping up gear or food before you set off. On a clear day, the views stretch as far as the Southern Alps and the Yatsugatake range.
Fujikyu Unjokaku
A facility at the Fuji Subaru Line 5th Station offering capsule-hotel-style rooms with a degree of privacy. It’s well suited to climbers who want to sleep at altitude the night before and start the climb already acclimatised, and its rest areas are open to visitors too.
7th Station
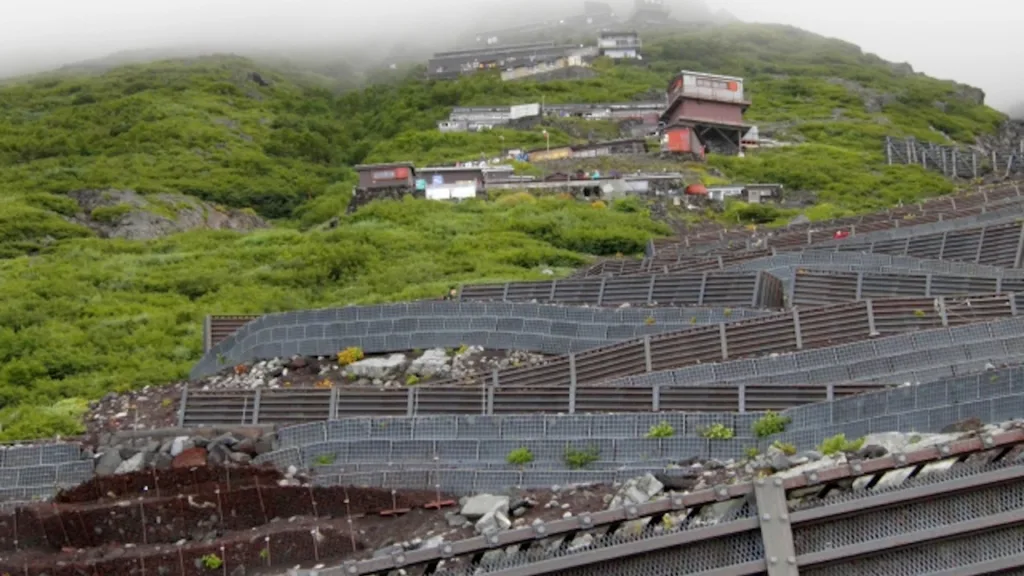
Hanagoya
At 2,700 metres, Hanagoya is the first hut you reach on the 7th Station stretch. It sits right where the volcanic gravel path from the 6th Station ends and the true rocky climbing begins — an ideal spot to pause and let your body adjust. The hut enshrines Fudo Myoo as its guardian deity, whose image also appears in its branding stamp.
Hinodekan
At 2,720 metres, this hut has a history reaching back to the final years of the Edo period. The building faces east, and true to its name — “House of the Sunrise” — it offers beautiful goraiko views. The owner is a professional photographer, and the walls inside are lined with photographs of Fuji’s alpine flowers.
Nanagome Tomoekan
At 2,740 metres, this hut has adopted an all-private-room format. Rooms with windows even let you watch the sunrise without stepping outside. Its signature treats — original cream buns made with a local Fujiyoshida bakery, served with chai — have a devoted following.
Kamaiwakan
At 2,790 metres, Kamaiwakan opened in 2016, making it one of the newest huts on the mountain. It offers a wide range of sleeping styles, from private rooms to partitioned dormitories, and every room has power outlets — a favourite among climbers who value privacy and charging. Its elevation also happens to be well suited to acclimatisation.
Fujiichikan
At around 2,800 metres, this hut was fully renovated in 2010 and is known for its cleanliness. It has a calmer character than the busier 8th Station huts, making it popular with families and female climbers, and the night views toward Kawaguchiko and Kofu are a bonus.
Toriiso
At 2,870 metres, Toriiso was founded in 1869 and is instantly recognisable by its symbolic red torii gate. The sunrise viewed straight through the gate is its claim to fame, and at night the hut offers views of the Tokyo-area lights and a sky full of stars — history and scenery in one stop.
Toyokan
At roughly 3,000 metres, at the very top of the 7th Station section, Toyokan has operated for more than ten recorded generations. Its guiding concept is to be “as comfortable as life at ground level,” and Wi-Fi is available in the common hall. Its position at the top of the Kamaiwa ridge keeps it out of the main rockfall line — which is why it was known in earlier times as the “safe room.”
8th Station
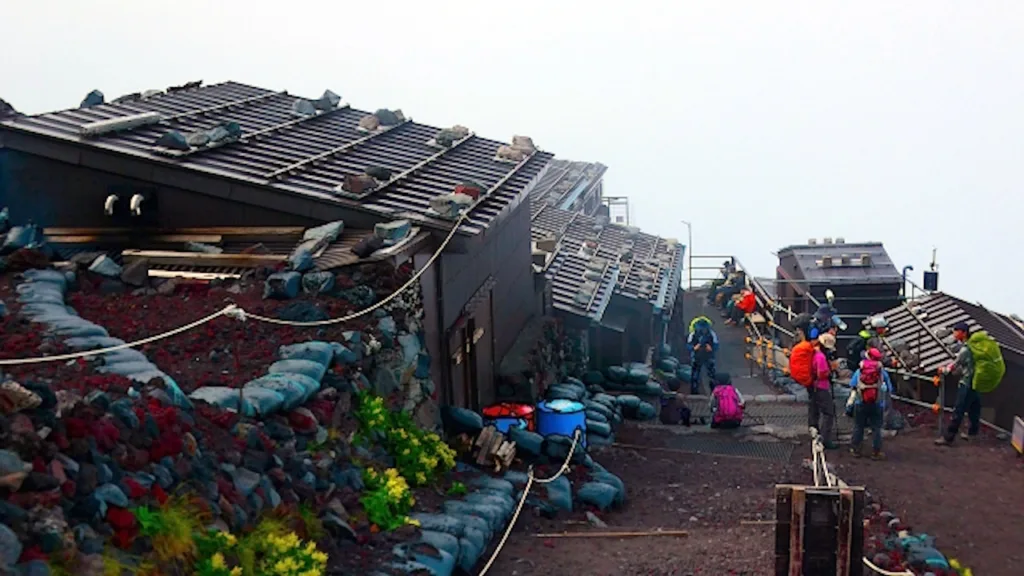
Taishikan
At 3,100 metres, Taishikan stands on a ridge where, according to legend, Prince Shotoku rested while climbing Fuji on his famous black steed — the hut takes its name from that story. An 8th Station first-aid post operates on site, staffed by doctors around the clock during the peak weeks of summer, which makes it especially reassuring for anyone worried about altitude sickness. It’s also known as an early adopter of flush toilets on the mountain.
Horaikan
Also at around 3,100 metres, Horaikan sits almost exactly halfway between the 5th Station and the summit, just above the long rocky climb from the 7th Station — a well-placed spot to rest or stay once the toughest stretch is behind you.
Hakuunso
At 3,200 metres, Hakuunso is a hut focused on overnight stays. Its dining hall and sleeping areas are kept in good order, and curtained sleeping berths are available — welcome news for female climbers and anyone who values privacy. The elevation is well suited to a final rest before a pre-dawn summit push.
Gansomuro
At 3,250 metres, Gansomuro stands beside Eboshi-iwa, the rock where Jikigyo Miroku — the revered reformer of the Fujiko movement — is said to have entered his final meditation. The adjacent Fujisan Tenpaisho shrine office issues talismans and amulets through the summer. At one to two hours from the summit, it’s a favourite among climbers aiming for sunrise at the very top.
Upper 8th Station and the 8.5 Station
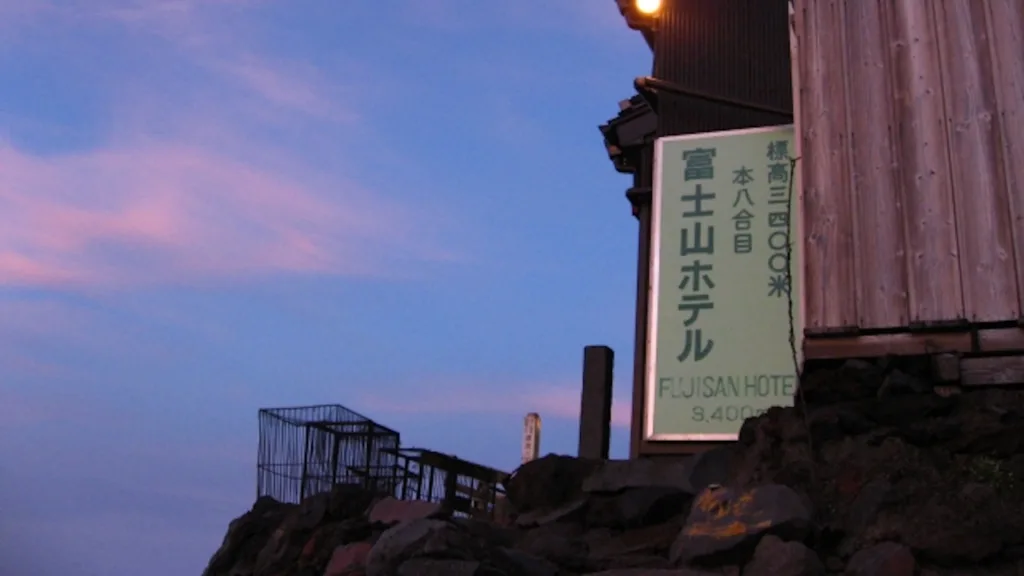
Fujisan Hotel
At 3,400 metres on the upper 8th Station, this is a large complex spread across three buildings. Its position beyond the junction with the Subashiri Trail brings steady traffic from both routes, and its night views — stretching from the Tokyo metropolitan area to the Shonan coast — are well known.
Honhachigome Tomoekan
Also at 3,400 metres, this hut provides a power outlet at every sleeping berth, so you can fully charge your phone before the summit push. Like its 7th Station sibling, it partners with a local bakery for its signature “phantom anpan” sweet bun. The summit is about 90 minutes away.
Kamiedoya (Munatsuki Edoya)
On the upper 8th Station, right at the junction where the Yoshida and Subashiri trails converge. With climbers from both routes passing through, it’s a natural rendezvous point for groups that split up and climbed different trails.
Goraikokan
At 3,450 metres on the 8.5 Station, Goraikokan is the closest hut to the summit on the entire trail — just 60 to 90 minutes from the top. Staying here gives you the best possible odds of catching sunrise from the summit itself, and the evening brings its own rewards: the mountain’s shadow stretching across the land at dusk, and a night sky that feels close enough to touch.
At the summit
Yamaguchiya
Standing near Kusushi Shrine at the summit, Yamaguchiya is the place to stay overnight at the very top on the Yoshida side — one of the highest-altitude lodgings in Japan. Its season is short and demand is high, so advance reservations are essential.
Yamaguchiya Annex
A branch of Yamaguchiya operating as a restaurant and shop only. You can’t stay the night, but its broad menu makes it a popular stop for a meal after summiting or a bite before setting out on the crater walk.
On the descent trail
Shimoedoya (Hachigome Edoya)
Standing at the descent-trail junction on the 8th Station, Shimoedoya is the only hut on the way down — nothing lies below it — which makes it a critical last stop for supplies and rest before the long descent. The Subashiri Trail split is immediately above it, and a wrong turn here sends you down the wrong side of the mountain, so check the signs carefully and follow the yellow markers for the Yoshida Trail.
Pacing yourself, and the courage to turn back
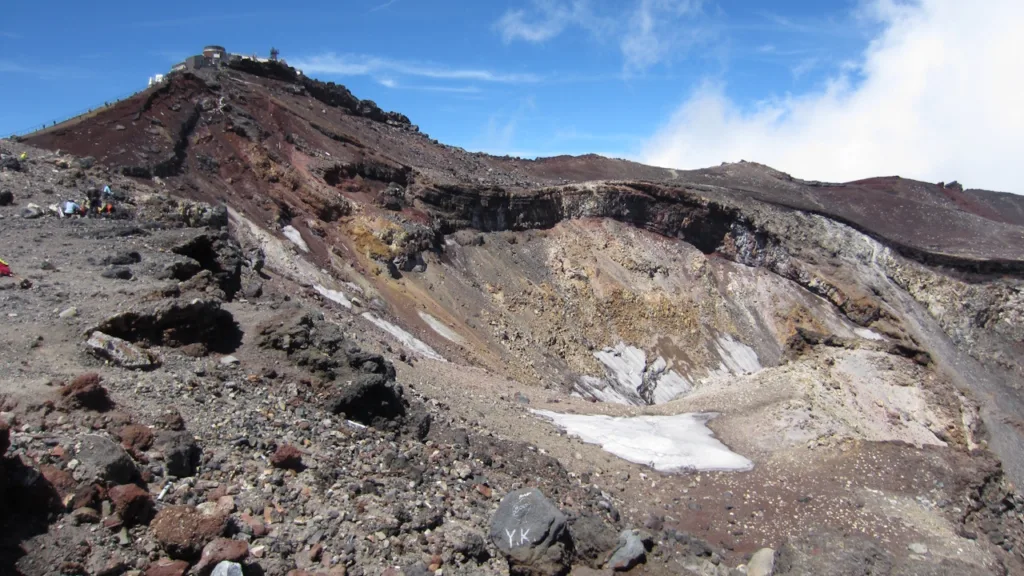
Mount Fuji has one of the largest elevation gains and temperature ranges of any mountain in Japan, and the climb as a whole is genuinely draining. You’ll gain more than 1,400 metres between the 5th Station and the summit while moving from scorching heat at the base to near-freezing conditions at the top — all in a single outing. Even climbers with experience on other mountains shouldn’t take it lightly.
To keep something in reserve for the whole climb, think carefully about how you split your energy between ascent and descent. A common rule of thumb puts it at 30% for the climb and 70% for the descent — or 40/60 at minimum — because coming down demands more stamina and concentration than most people expect. Impact accumulates in your legs with every downhill step, and slips and falls tend to happen precisely when fatigue erodes attention. Holding your pace back on the way up, deliberately saving strength for the way down, is the foundation of a safe Fuji climb.
Altitude sickness is the risk that ordinary hiking rarely prepares you for. As elevation increases, blood oxygen levels fall, bringing headaches, nausea, and dizziness. The most effective countermeasure happens before you ever arrive at the mountain: build up your general fitness with regular light exercise, and — critically — get a full night’s sleep the night before the climb. Starting a Fuji ascent sleep-deprived makes altitude sickness markedly more likely, so skip the late night and arrive at the 5th Station properly rested.
And no matter how well you’ve prepared, if your body isn’t cooperating on the day, don’t push. If a headache or dizziness sets in, descending immediately — the courageous retreat — is the best safety measure there is. The summit was never the real finish line; a Fuji climb only counts as complete when you’re safely back at the 5th Station. Set aside the “but I’ve come this far” feeling, and put your own condition and your companions’ first. That judgment call, more than anything else, is what lets a Fuji climb end well.
Gear and packing checklist
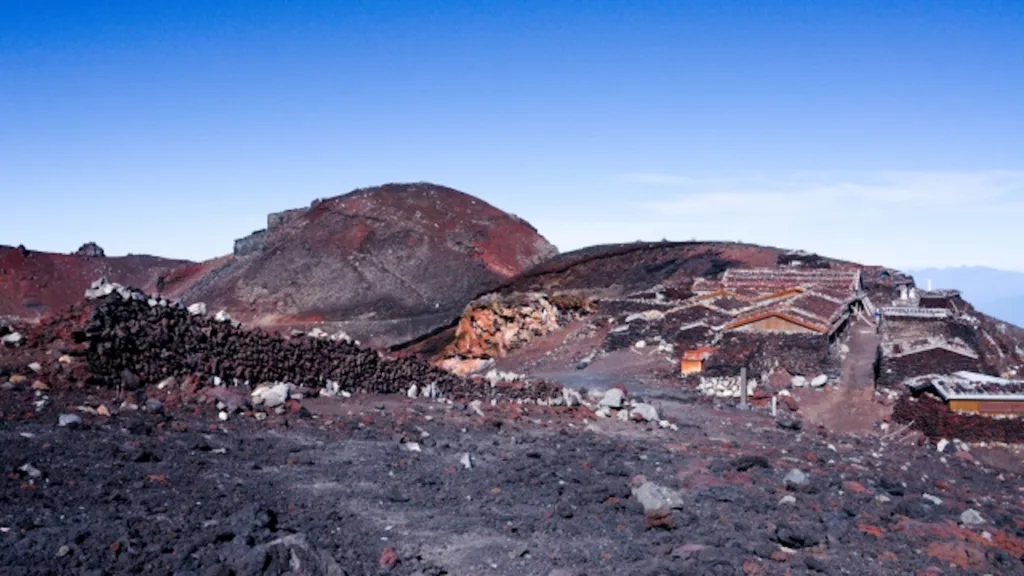
Mount Fuji attracts plenty of first-time climbers, but the environment at 3,776 metres is as serious as any real mountain. At the 5th Station gate, staff check for three essential items — cold-weather clothing, a two-piece rain suit, and proper climbing footwear — and climbers without them are not permitted on the trail.
Beyond those three, the following items will make the climb safer and more comfortable:
- Headlamp (a hands-free headlamp is essential for night and pre-dawn sunrise climbs)
- Gloves and a neck warmer for the cold
- Disposable heat packs (both the adhesive and hand-held types come in handy while waiting for sunrise)
- Hat plus sunglasses or goggles (to protect your head and eyes from intense sun and ash-laden wind)
- Trail snacks (hard candy, chocolate, energy jelly drinks — compact, high-calorie foods that give you a quick lift)
- Coins for the toilets (bring plenty of 100-yen coins)
- Power bank (cold drains phone batteries quickly at altitude)
- Sunscreen (UV exposure is intense at high elevation)
Roughly three in ten Fuji climbers experience some symptom of altitude sickness. Once you arrive at the 5th Station, take time to let your body adjust before setting off, and start at a deliberately slow pace. Even in summer, conditions near the summit rival midwinter, so thorough cold-weather preparation is a prerequisite for a safe climb.
Below-freezing at dawn, scorching heat below: preparing for both extremes
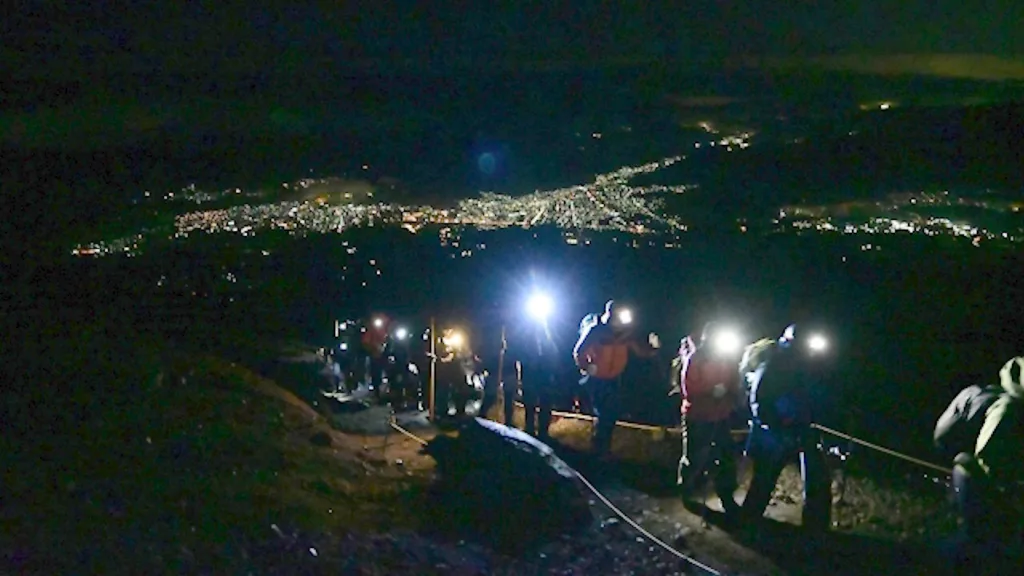
A single day on the Yoshida Trail exposes you to both below-freezing cold and midsummer heat. That temperature swing is what makes Fuji uniquely demanding — and it’s the area where inadequate preparation most directly translates into physical trouble.
Air temperature drops roughly 0.6°C for every 100 metres of elevation, so even when the base of the mountain sits at a sweltering 30°C, the summit averages only 5–6°C in July and August. In the pre-dawn hours when climbers gather for sunrise, summit temperatures commonly fall to 2–3°C — and wind pushes the perceived temperature below freezing. Each metre per second of wind speed lowers the perceived temperature by about 1°C, and on the exposed summit, sustained wind creates a genuine hypothermia risk even in August. The sunrise wait — standing still, at altitude, in the dark — is precisely when the cold bites hardest.
Meanwhile, everything below the 5th Station belongs to full Japanese summer. The 5th Station itself is pleasant, averaging around 15°C in August, but the journey to the trailhead and the sightseeing that follows your descent take place in heat approaching 30°C — and staying bundled in your summit layers down there invites heat exhaustion. In other words, a day on the Yoshida Trail means operating across two opposite climates.
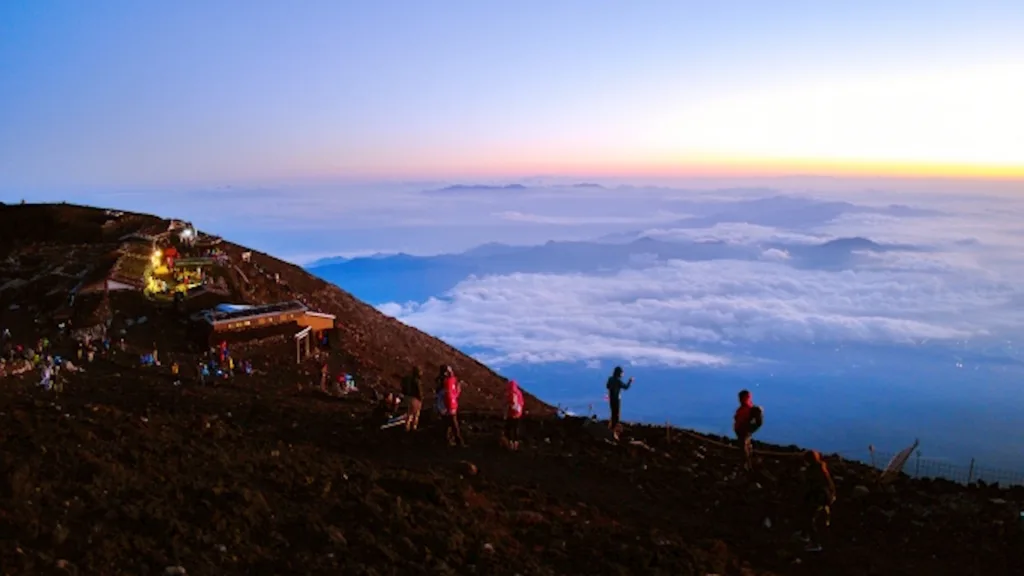
Handling the cold
Layering is the foundation of staying warm during the sunrise wait. Start with a quick-drying base layer, add a fleece or similar mid-layer, and finish with a wind-resistant outer shell — a down jacket or windbreaker. Covering your neck and hands with gloves and a neck warmer makes a surprisingly large difference to how warm you feel. If you’re leaving a hut for the summit in the coldest pre-dawn hours, put your full cold-weather kit on before you step outside.
Handling the heat
At the other extreme, staying in your warm layers during the approach to the 5th Station or after descending leads to heavy sweating, wasted energy, and a higher risk of dehydration and heat exhaustion. Keep your layering easy to add and shed, protect yourself from direct sun with a hat and sunscreen, and drink fluids regularly. In the lower, hotter sections, take frequent short breaks and change out of sweat-soaked base layers as soon as you reasonably can — it keeps your body from chilling later and makes the whole day more comfortable.
Plan your clothing around a simple premise — midwinter at the summit, midsummer at the base — with layers that let you fine-tune as you go, and you’ve addressed one of the biggest safety variables on the mountain.
Rain gear, your pack, and your boots: the details climbers overlook
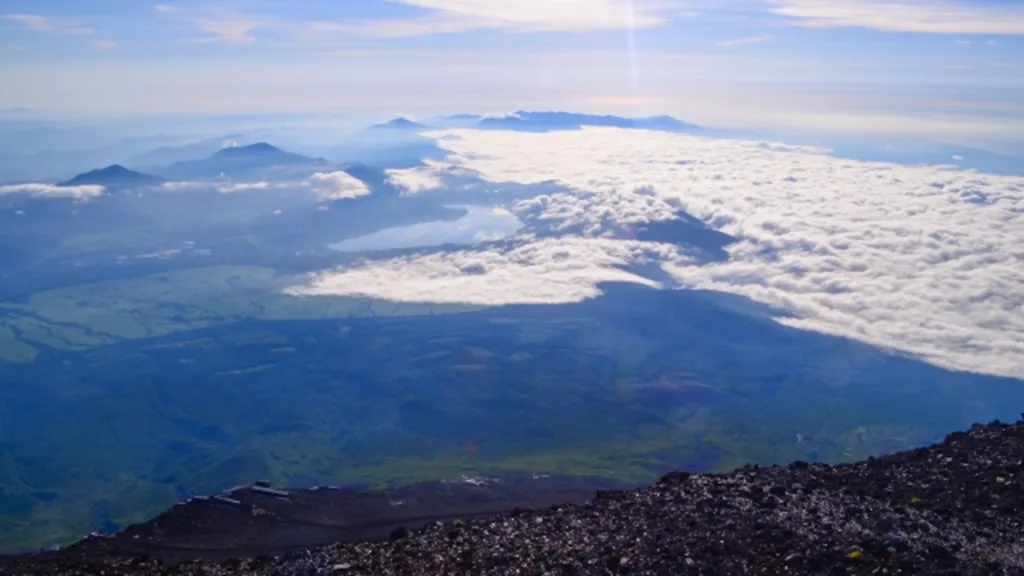
Fuji’s weather changes fast, and the terrain near the top is unforgiving. Three pieces of preparation deserve more attention than they usually get.
Choose waterproof-breathable rain gear such as Gore-Tex
A two-piece rain suit is one of the mandatory items checked at the 5th Station gate — and the keyword to look for when choosing one is a waterproof-breathable fabric, with Gore-Tex as the best-known example. These fabrics block rain from outside while letting sweat vapour escape from inside, which prevents you from getting soaked in your own sweat over hours of exertion. A plain vinyl poncho or raincoat keeps rain out but traps moisture, and sweat-chilled skin at altitude is a fast track to hypothermia. Ponchos also catch the wind at the hem, which can throw off your balance on rocky sections — another reason the separate jacket-and-pants format is the standard.
Don’t stop at the rain suit itself. Your backpack needs protection too: even water-resistant packs let moisture in through seams and zippers, so a dedicated backpack rain cover is what actually keeps your spare clothes and electronics dry. Covers are light and pack down small — carry one regardless of the forecast.
Everything goes in a backpack — keep both hands free
Handheld bags and shoulder bags have no place on this mountain. From the 8th Station to the summit, the Yoshida Trail crosses steep, jagged rock where you’ll sometimes scramble using your hands. If one hand is holding a bag at that moment, you can’t grab a rock or a chain when you suddenly need to — and that’s how falls happen. Carry everything in a backpack worn on your back, keeping both hands free at all times. Pack strategically, too: items you’ll reach for often — snacks, drinks, gloves — belong in the top compartment or side pockets, so you can keep moving without repeatedly stopping to dig.
Wear real hiking boots — and inspect any pair that’s been sitting unused
The rocky terrain above the 8th Station calls for high-cut hiking boots that support the ankle, or trekking shoes with genuinely sturdy soles. Everyday sneakers have shallow tread that loses grip on loose volcanic gravel and bare rock — exactly the surfaces this trail is made of.
Pay special attention if you’re bringing out boots you haven’t worn in years. The polyurethane used in hiking boot soles degrades over time through a process called hydrolysis — a reaction with moisture in the air that happens whether or not the boots are ever worn. The rough benchmark is five years from manufacture, and soles that look perfectly fine can separate without warning mid-climb. Boots stored long-term in a box are especially prone to it. Before you go, press the sole with your fingers to check for stiffness or cracking, and if anything feels off, replace the boots or have them inspected at an outdoor gear shop first.
Toilets and the donation system
Toilets on Mount Fuji operate on a donation system to fund environmental protection, with a small cash contribution collected per use. The mountain has no sewer system, so its toilets rely on environmentally engineered designs — bio-toilets that break down waste with sawdust, and incineration types that burn it — and maintaining them at altitude is expensive. Users’ contributions are what keep the system running.
Payment is essentially cash-only and exact change isn’t always available, so carrying around ten 100-yen coins is a sensible precaution. Many toilets also ask that used toilet paper go into the bin provided rather than being flushed, so check the posted instructions before use.
What you can buy at the mountain hut shops
Every hut on the Yoshida Trail runs a small shop, so you can restock water and food as you climb. Because everything has to be hauled up the mountain, prices run higher than at shops below — that’s the cost of the convenience. Many huts also serve hot meals like cup noodles, udon, and rice bowls, and when the weather turns rough, a hut meal doubles as shelter.
The shops also stock portable oxygen canisters for climbers worried about altitude, the traditional kongo-zue wooden climbing staves that make popular souvenirs, and branding stamps — each hut burns its own unique design into your stave as you pass. Cash remains the standard at most hut shops, with many not accepting credit cards at all, so bring enough cash to cover meals and purchases along the way.
Credit cards and cashless payment: the current state of play
Payment options on the Yoshida Trail vary depending on where you are and what you’re paying for. The trail conservation fee can be paid by credit card or PayPay through the advance registration system, but the same-day counter at the 5th Station takes cash only — if you want to pay electronically, complete the online registration in advance, even on the day itself.
Hut lodging has largely moved to online booking, and many huts now require advance payment by 3-D Secure-enabled credit card or PayPay at the time of reservation. On the mountain itself, though, it’s a different story: settling extra charges at check-in, or buying from hut shops and dining rooms, is still cash-only at many huts. Some — like huts at the 6th Station — have begun accepting cards and cashless payment on site, and the trend is spreading, but network connections grow less reliable with altitude, and cashless systems can drop out temporarily just when you need them.
The practical rule of thumb: pay everything you can online in advance, and carry cash for everything on the mountain. A good stock of 100-yen coins covers toilets and small purchases, and it’s wise to carry a separate reserve of larger bills as well — enough to cover an unplanned hut stay if altitude sickness or weather forces a change of plans partway up.
How much drinking water should you carry?
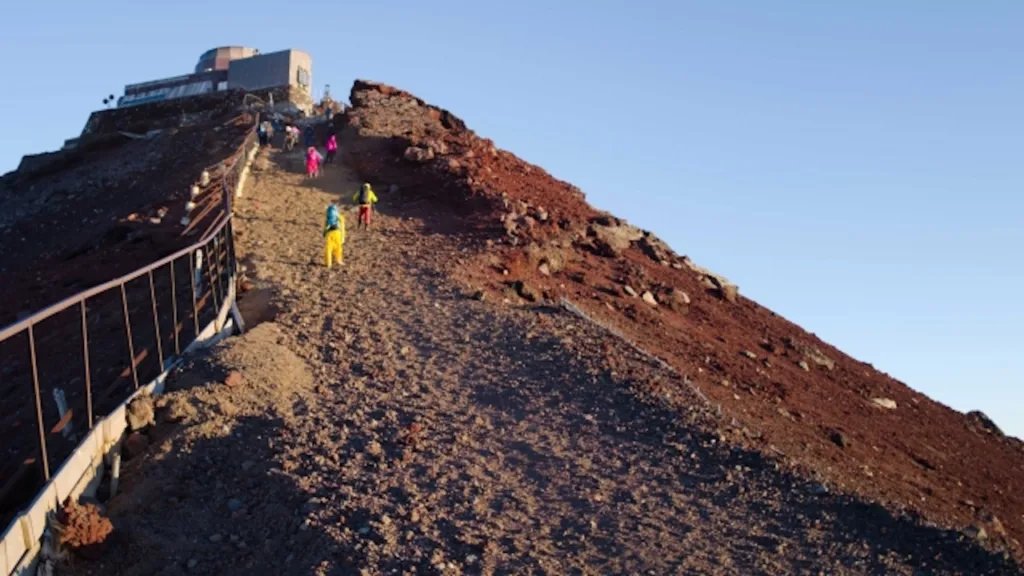
For a standard two-day, one-night climb on the Yoshida Trail, total fluid needs run around two to three litres. As you gain altitude, air pressure falls and the air grows drier, so your body loses water faster than it does at sea level. Dehydration thickens circulation and makes it harder for oxygen to reach your extremities — which directly raises the risk of altitude sickness. The golden rule on Fuji is to drink small amounts frequently, before you ever feel thirsty.
Here’s the crucial point, though — and the single most misunderstood part of Fuji hydration planning: that two-to-three-litre figure is your total for the whole climb, not the amount to carry from the start. Water weighs about one kilogram per litre, so hauling the full amount adds two to three kilograms to your pack. On a climb that already involves more than 1,400 metres of elevation gain, that extra weight accelerates fatigue and drags your pace down. The likely outcome is exactly what you’re trying to avoid: being forced to dump water to lighten your load, or running out of energy and abandoning the summit altogether.
That’s why the one-litre benchmark at departure matters so much. Picture it as two 500-ml bottles in your pack when you leave the 5th Station, replaced one at a time at hut shops as you drink them. The Yoshida Trail’s dense line of huts means you’re never far from a chance to buy more — there’s simply no need to carry it all from the start. Setting off light with one litre and restocking as you go keeps your pack weight minimal while fully covering your hydration needs. Carry much more than two litres from the start, and the weight itself becomes the problem — to the point where accompanying staff or guides will sometimes advise climbers with overloaded packs to reduce their water mid-route.
One Fuji-specific trap to know about: near the summit, the cold makes drinking chilled water genuinely unpleasant, and climbers unconsciously cut back — letting dehydration creep in unnoticed. Vending machines at the summit stock hot drinks, so when cold water stops appealing, switch to something warm and cover both hydration and body heat at once.
Finally, make plain water your default rather than tea. The caffeine in tea is a diuretic — the more you drink, the more often you’ll need a toilet, and on stretches like the Yoshida descent trail where toilets are few and far between, that becomes a real burden. For hydration purposes, stick to water or sports drinks and keep tea to a minimum. And whatever you do, don’t restrict fluids to avoid toilet stops — that trade-off always ends badly at altitude.
Getting to the 5th Station
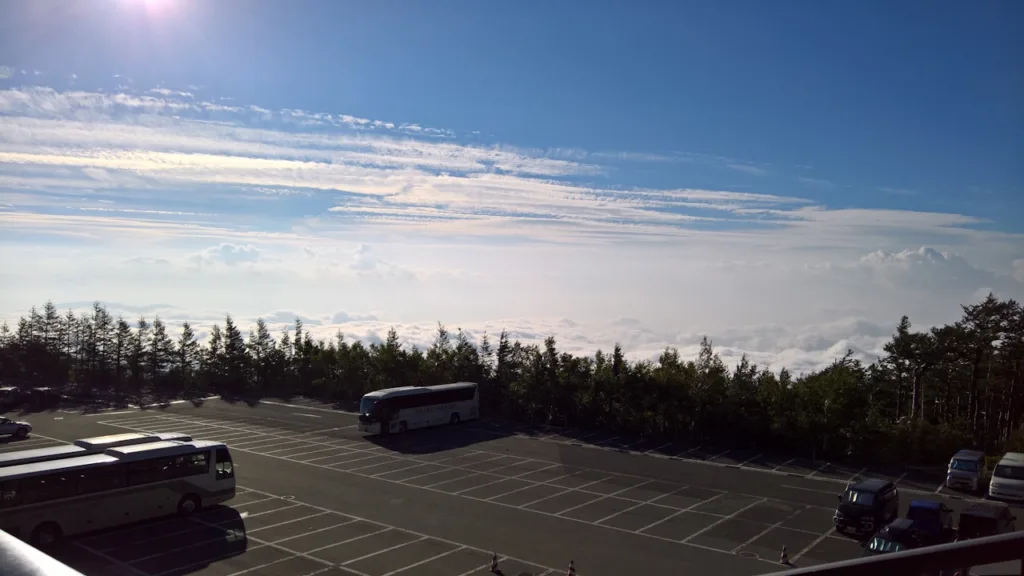
The most common route to the Fuji Subaru Line 5th Station is by highway bus from Shinjuku, which runs direct seasonal services. Alternatively, take the Fujikyu Railway to Kawaguchiko Station or Fujisan Station and transfer to a climbing bus from there. During the private-vehicle restriction period, cars can’t drive up to the 5th Station, so the standard approach is park-and-ride: leave the car near Kawaguchiko or Fujisan Station and board the bus.
Build slack into your travel schedule — it insulates you from crowds and traffic on the day and preserves your energy for the climb itself. Many climbers stay the night before in the Kawaguchiko or Fujiyoshida area and head up to the 5th Station early the next morning. And once you arrive, resist the urge to start walking immediately: spending a while at the 5th Station letting your body adjust to the thinner air pays off over the entire climb that follows.
Nearby spots worth combining with your climb
Kitaguchi Hongu Fuji Sengen Shrine
The starting point of the Yoshidaguchi trail, where a stately approach lined with massive cedars and cypresses leads to one of the largest wooden torii gates in Japan. Beyond a pre- or post-climb visit, the Important Cultural Property buildings and the thousand-year-old sacred cedar make the grounds well worth exploring in their own right.
Oshino Hakkai
A scenic cluster of eight ponds fed by Mount Fuji’s underground spring water, filtered through the mountain over many years. The crystal-clear water with Fuji rising behind it is registered as part of the World Heritage listing. Thatched-roof water mills and small eateries ring the ponds, making it an easy, atmospheric stop before or after the climb.
Lake Kawaguchi
One of the Fuji Five Lakes and a beloved photo spot, particularly on days when the mountain reflects perfectly on the water — the famous “upside-down Fuji.” Sightseeing boats, a ropeway, and lakeside cafes round out the options for a relaxed few hours before or after the mountain.
Fujisan Museum
Fujiyoshida City’s museum of history and folklore, with extensive exhibits on the Fujiko movement and the history of the climbing trails. A worthwhile stop for anyone who wants the trail’s backstory fresh in mind before walking it.
Where to stay nearby
Fuji Marriott Hotel Lake Yamanaka
A resort hotel operated by Marriott International, the global hotel chain, set in quiet forest a short distance from the Lake Yamanaka shore. Rooms exceed 40 square metres, and the hotel draws on the Yamanakako hot spring for its large communal baths and open-air bath. A strong choice for recovering from the climb in genuinely calm surroundings.
THE KUKUNA
A luxury resort on the Kawaguchiko lakefront where every room faces the lake. Rooms in the panoramic wing feature open-air onsen baths on private water terraces, letting you take in Lake Kawaguchi and Mount Fuji without leaving your room. It’s just a few minutes’ drive from Kawaguchiko Station — right by where the climbing buses depart.
HOSHINOYA Fuji
Japan’s first glamping resort, set within the national park on Mount Fuji’s lower slopes. Minimalist cabins nestled in a red pine forest deliver a genuine sense of immersion in nature along with a polished outdoor experience — a memorable place to unwind before or after your night on the mountain, and equally suited to a special-occasion stay.
Climbing the Yoshida Trail with a dedicated tour conductor
For international visitors, the hardest part of climbing Mount Fuji often isn’t the mountain — it’s the logistics around it. The advance registration system, hut reservations that sell out within weeks and run largely in Japanese, seasonal bus timetables, gate rules, cash-only counters: each is manageable alone, but together they add up to a lot of friction in an unfamiliar language.
This is exactly where a dedicated tour conductor earns their keep. A tour conductor accompanies your group throughout the trip, managing the itinerary as planned: making sure connections to the 5th Station happen on time, assisting with interpretation at the gate, the huts, and the shops, and handling emergency arrangements when plans change — a member of the group who needs to descend early, a weather delay that requires rebooking transport or accommodation, a sudden schedule disruption. Instead of untangling those problems yourself, halfway up a mountain, in a second language, you have someone whose job is to resolve them.
It’s worth being clear about the role’s boundaries: a tour conductor manages the itinerary and provides interpretation and emergency support — they don’t lead the climb as a mountain guide, and itinerary changes themselves are handled by the tour operator. What a tour conductor delivers is certainty on everything around the climb, so your energy goes into the mountain itself. On a route with this much administration and this little English signage, that support changes the entire experience.
If that sounds like the right fit for your Fuji plans, you can explore dedicated tour conductor and travel arrangement services at <a href=”https://tours.e-stay.jp/”>tours.e-stay.jp</a>.
Final thoughts
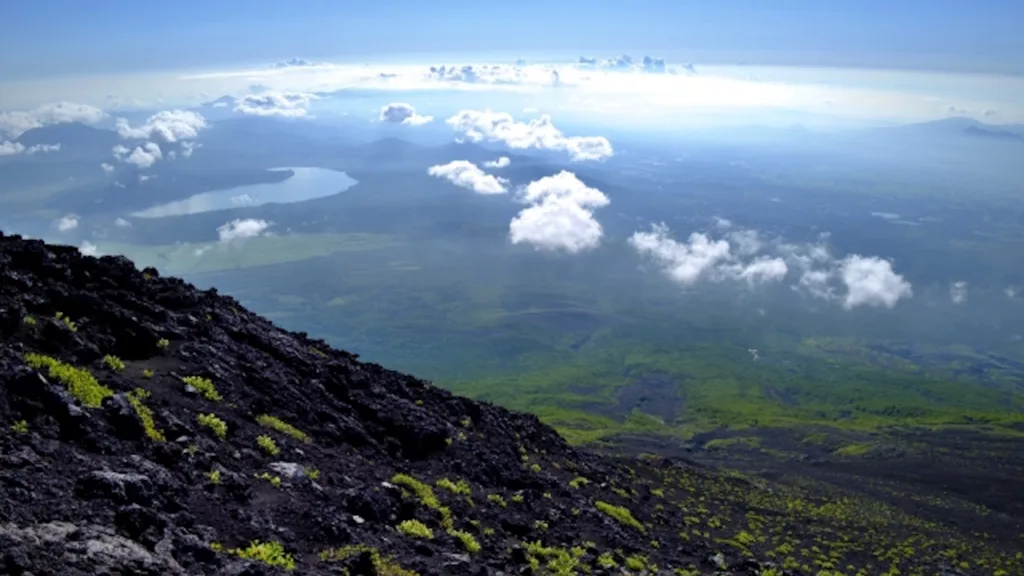
The Yoshida Trail earns its place as Fuji’s most-climbed route honestly: a trailhead steeped in centuries of pilgrim history at Kitaguchi Hongu Fuji Sengen Shrine, the densest network of mountain huts on the mountain, and separated ascent and descent paths that make it the most forgiving choice for a first Fuji climb. The 2026 season continues the conservation fee, the daily climber cap, and the gate closure hours, so register in advance, prepare your gear properly, and build a schedule with room to breathe.
None of that makes the mountain easy — the 1,400-metre elevation gain, the swing from summer heat to freezing summit air, and the ever-present possibility of altitude sickness all demand genuine respect. But get the preparation right — a hut reservation, layered clothing, proper boots, a rested body, and a sensible water plan — and the reward is a sunrise over a sea of clouds that few experiences in Japan can match. Whether you organise the climb yourself or bring in a dedicated tour conductor to carry the logistics, the Yoshida Trail is worth every bit of the planning it asks of you.